How-To: Creating an application with Uno.Extensions
This tutorial will walk you through how to create an Uno application with Uno.Extensions using the Wizard and CLI.
Note
Make sure to setup your environment first by following our instructions.
Step-by-steps
1. Creating the app
Create an Uno Platform app with Wizard:
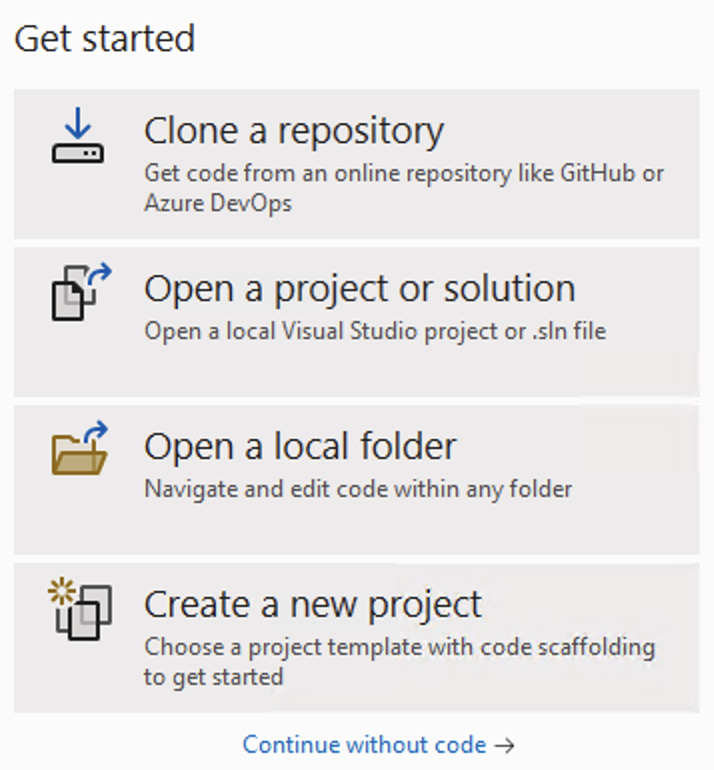
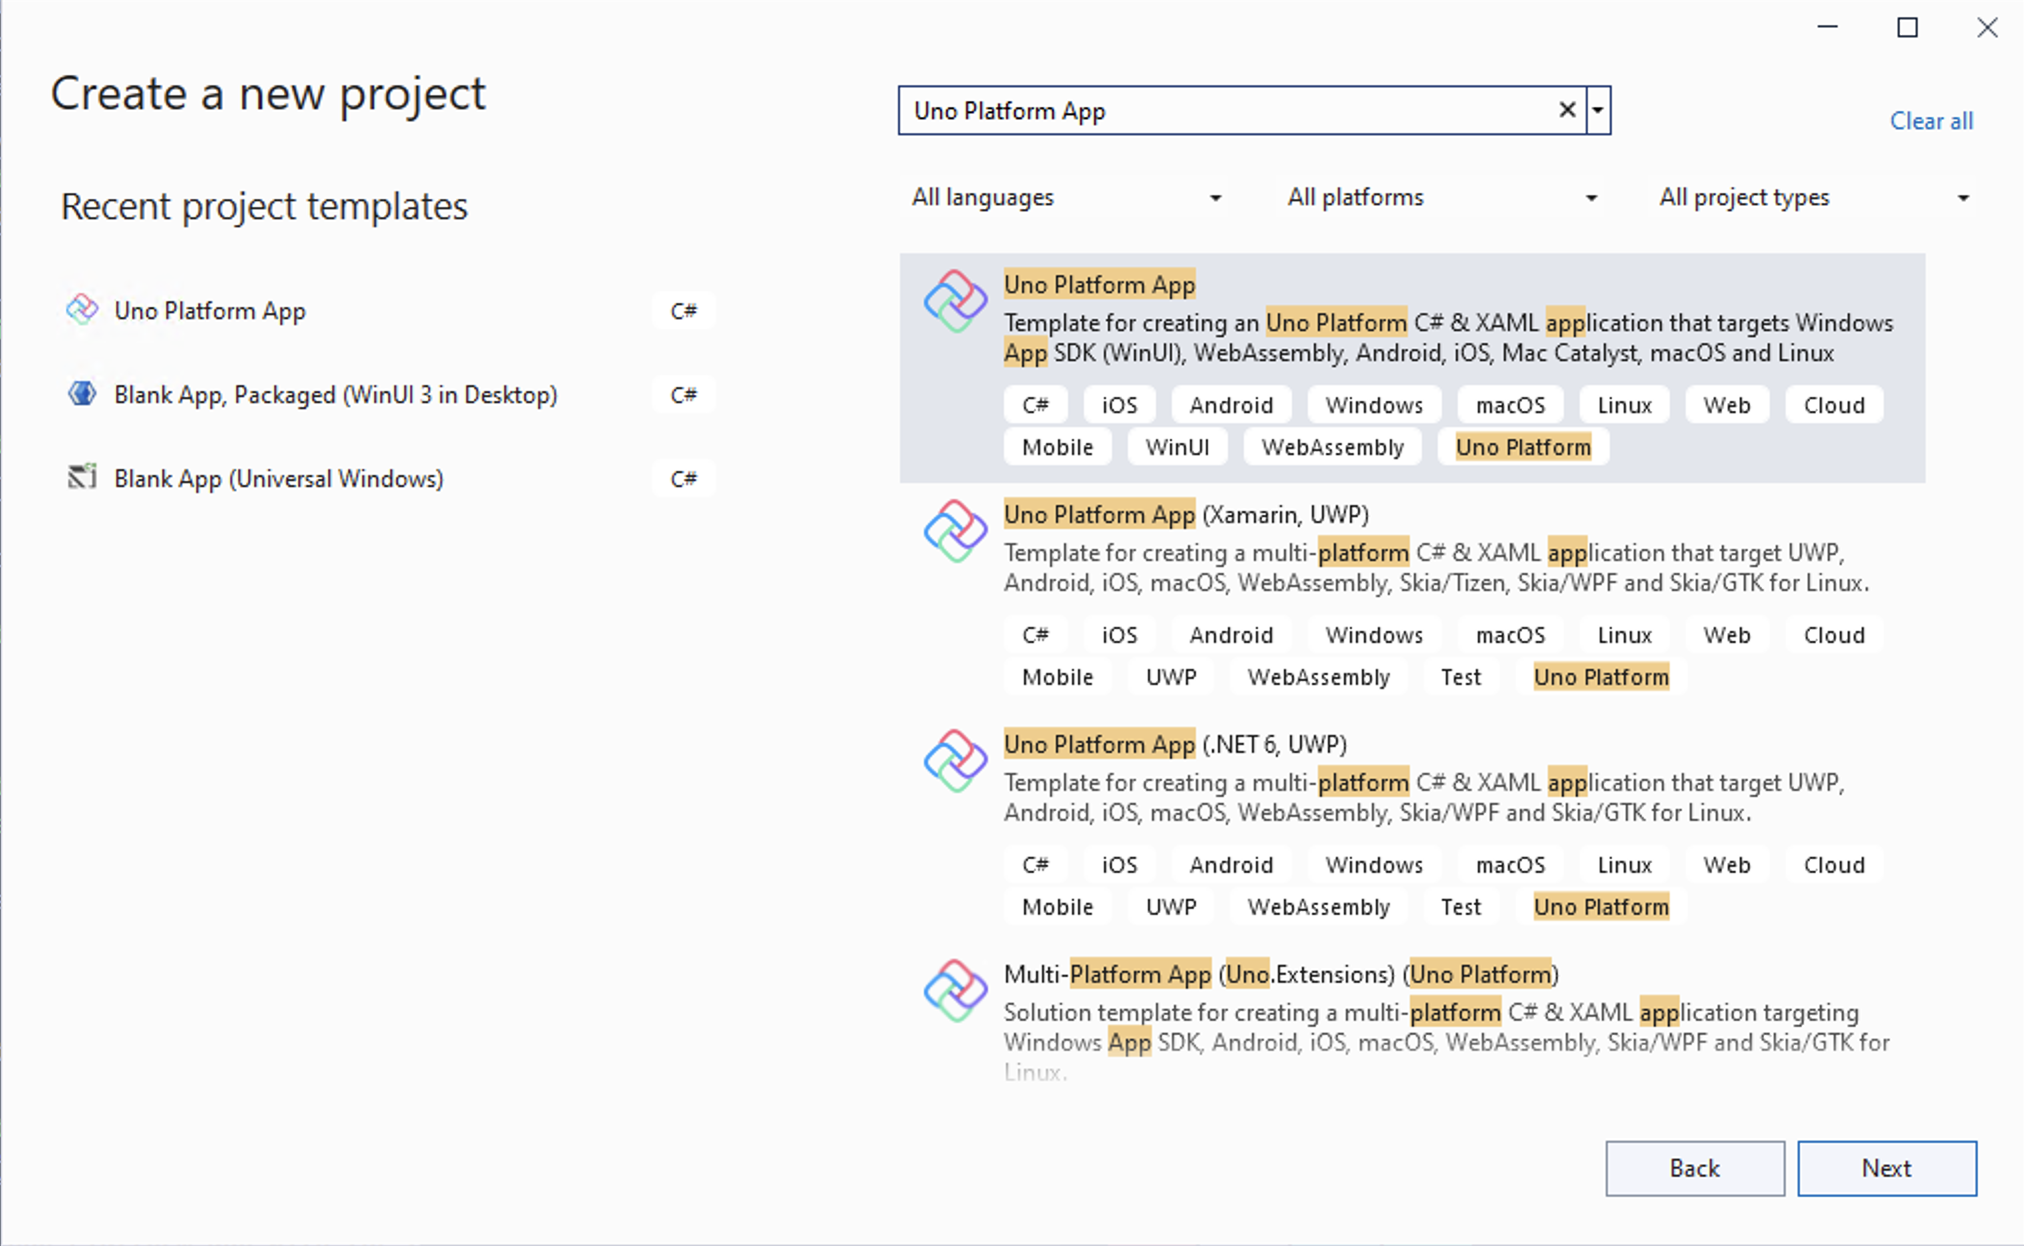
Create a new C# solution using the Uno Platform App template, from Visual Studio's Start Page, then click the Next button
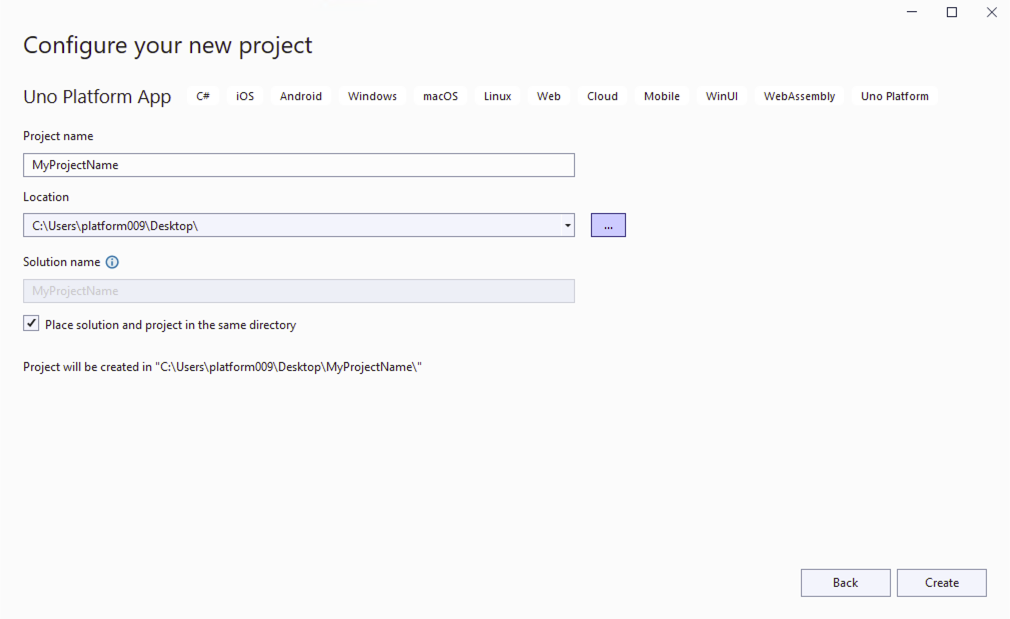
Configure your new project by providing a project name and a location, check the "Place solution and project in the same directory" option, then click the Create button
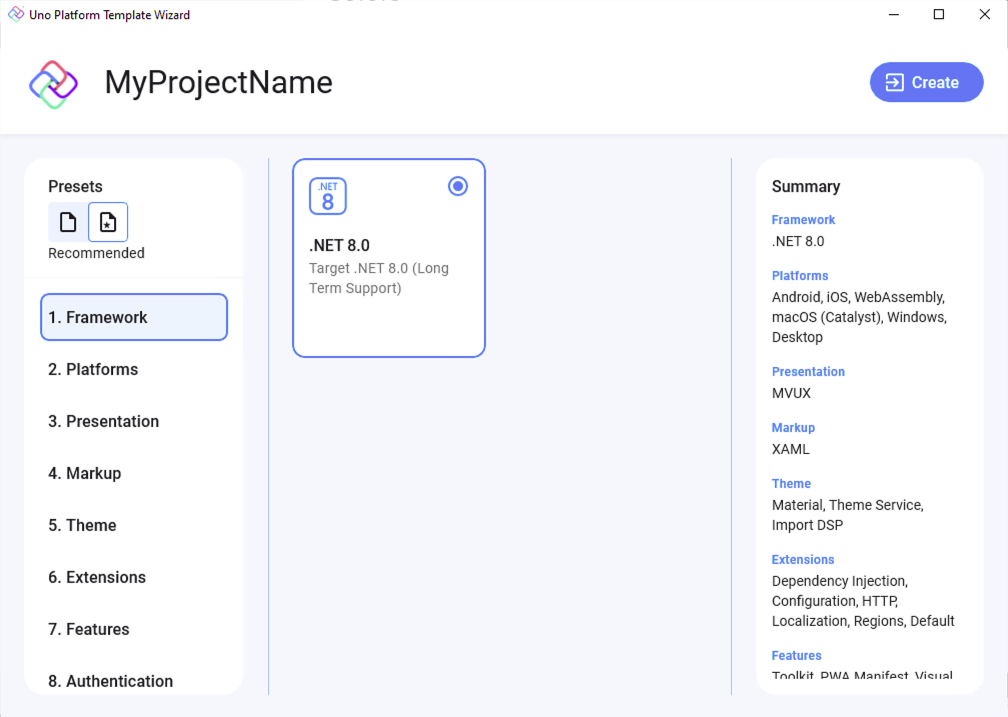
Choose a template preset to build your application
Tip
For a detailed overview of the Uno Platform project template wizard and all its options, see this.
Click the create button
Wait for the projects to be created, and their dependencies to be restored
A banner at the top of the editor may ask to reload projects, click Reload projects:

Create an Uno Platform app with the CLI:
The dotnet templates included in the Uno.Templates package are used to easily create new projects that already reference the Uno.Extensions.
Open a command prompt and run the following:
dotnet new install Uno.TemplatesNavigate to the desired projects directory, and use the
unoapptemplate to generate the starter solution discussed abovedotnet new unoapp -o MyProject -preset recommendedThe argument specified after the
-oflag (i.e. MyProjectName) will act as the name for both a containing directory and the generated solution.Open the solution in Visual Studio
.\MyProjectName\MyProjectName.sln
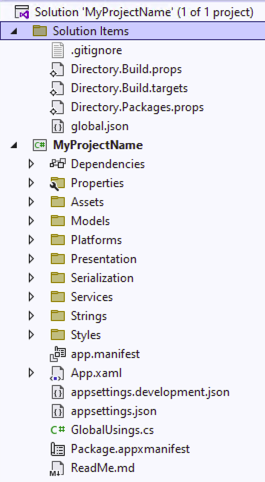
2. Exploring the Solution
The generated solution will contain MyProjectName for application logic, including constructs like ViewModels and services, along with the pages, controls, and other views constituting the UI of the application.
3. Running the Application
Select a target from the drop-down as pictured below
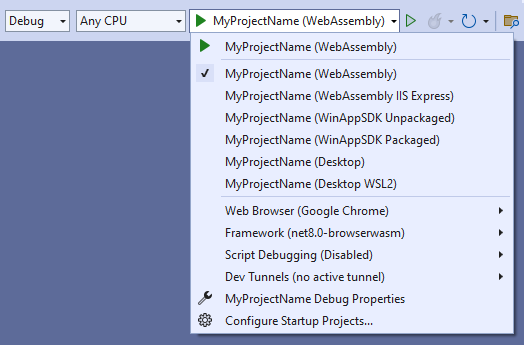
Click the "play" button, or press F5 to start debugging. The project will be compiled and deployed based on the target platform. For more detailed instructions specific to each platform, refer to the Debug the App documentation.