Create an app with Rider
Note
Make sure to setup your environment by following our instructions.
Create the App
Creating an Uno Platform project is done using dotnet new and the Uno Platform Live Wizard by following these steps:
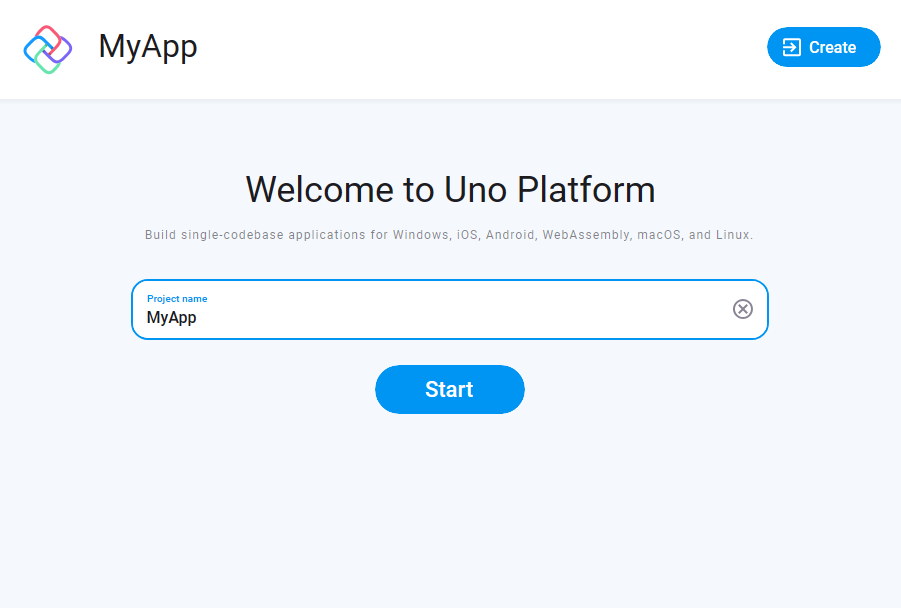
Open a browser and navigate to the Live Wizard
Configure your new project by providing a project name, then click Start

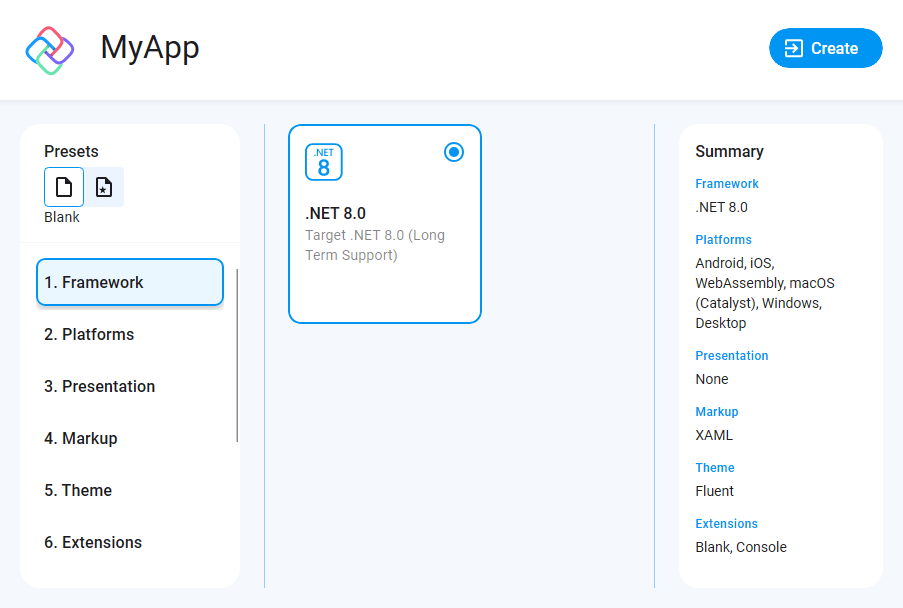
Choose a template to build your application

Tip
For a detailed overview of the Uno Platform project wizard and all its options, see the Wizard guide.
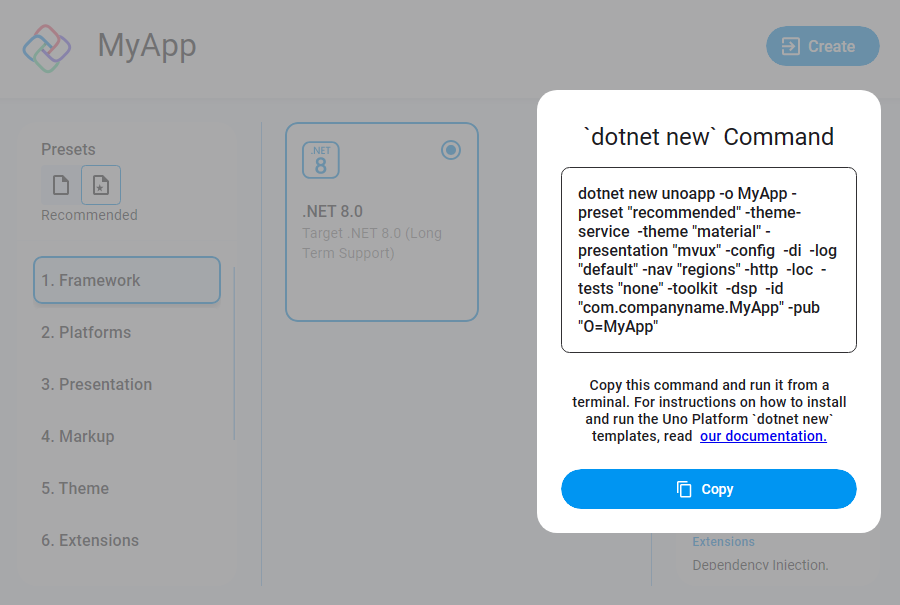
Click the Create button on the top right corner, then click the Copy button

In your terminal, navigate to the folder that will contain your new app.
Important
As of Rider 2023.3, the Uno Platform 5.2
net8.0-browserwasmandnet8.0-desktopTargetFrameworks are not supported. See this JetBrains article for more details. To build an app using Uno Platform 5.1 templates that are compatible with Rider, rundotnet new uninstall uno.templatesthendotnet new install uno.templates::5.1.25.Create a new project by pasting the command that was previously generated in the Live Wizard.
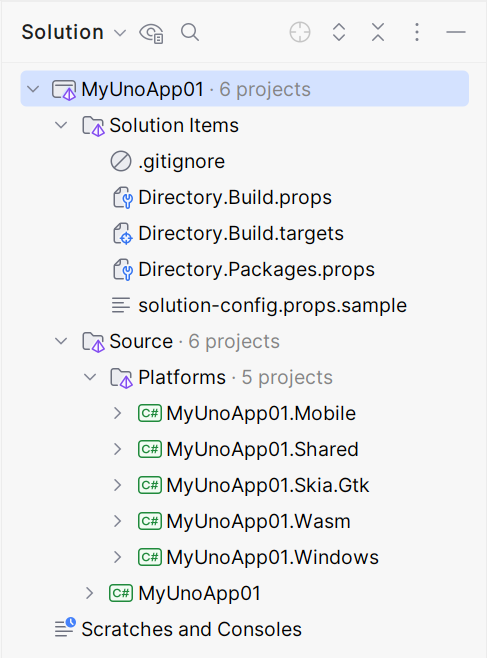
Open the solution in Rider, you should now have a folder structure that looks like this:

Tip
If you are not able to run the online Live Wizard, you can explore the dotnet new template directly in the CLI.
Debug the App
Set Android as your startup project. Run.

Note
Whether you're using a physical device or the emulator, the app will install but will not automatically open. You will have to manually open it.
Next Steps
Now that you're Created and Debug the App.
Learn more about:


